How to create a single label for a package shipping to an overseas military base (APO, FPO, DPO)
How to create a single label for a package shipping to an overseas military base (APO, FPO, DPO)
The video discusses how to create a single shipping label to send a package to an APO/FPO/DPO location.
We suggest you log into your account to access your address book and time-saving features for quicker label creation.
First, Login to your account to access our shortcut features that will save you time. Then, click on your name in the upper right corner of your screen.
Scroll down and click the “Create a Label ” link in the “Order Info” section and follow the number sequence to format your label.
Step 1 – Fill in the fields following the number sequence.
a. Click the radio button “To an APO/FPO/DPO. since that is where you are shipping.2. Enter your Zip Codes. Note – If you are signed in, you can click the “Address Book” button to the right of the zip code areas to pre-pick your destinations; this will save you from having to type the addresses later.
b. Select Your Packaging – Most boxes have dimensions listed on them, and carrier boxes have a name description for their common packaging. Enter your own dimensions with the Other Packaging tab or pick a carrier branded packaging with the Carrier Packaging tab.
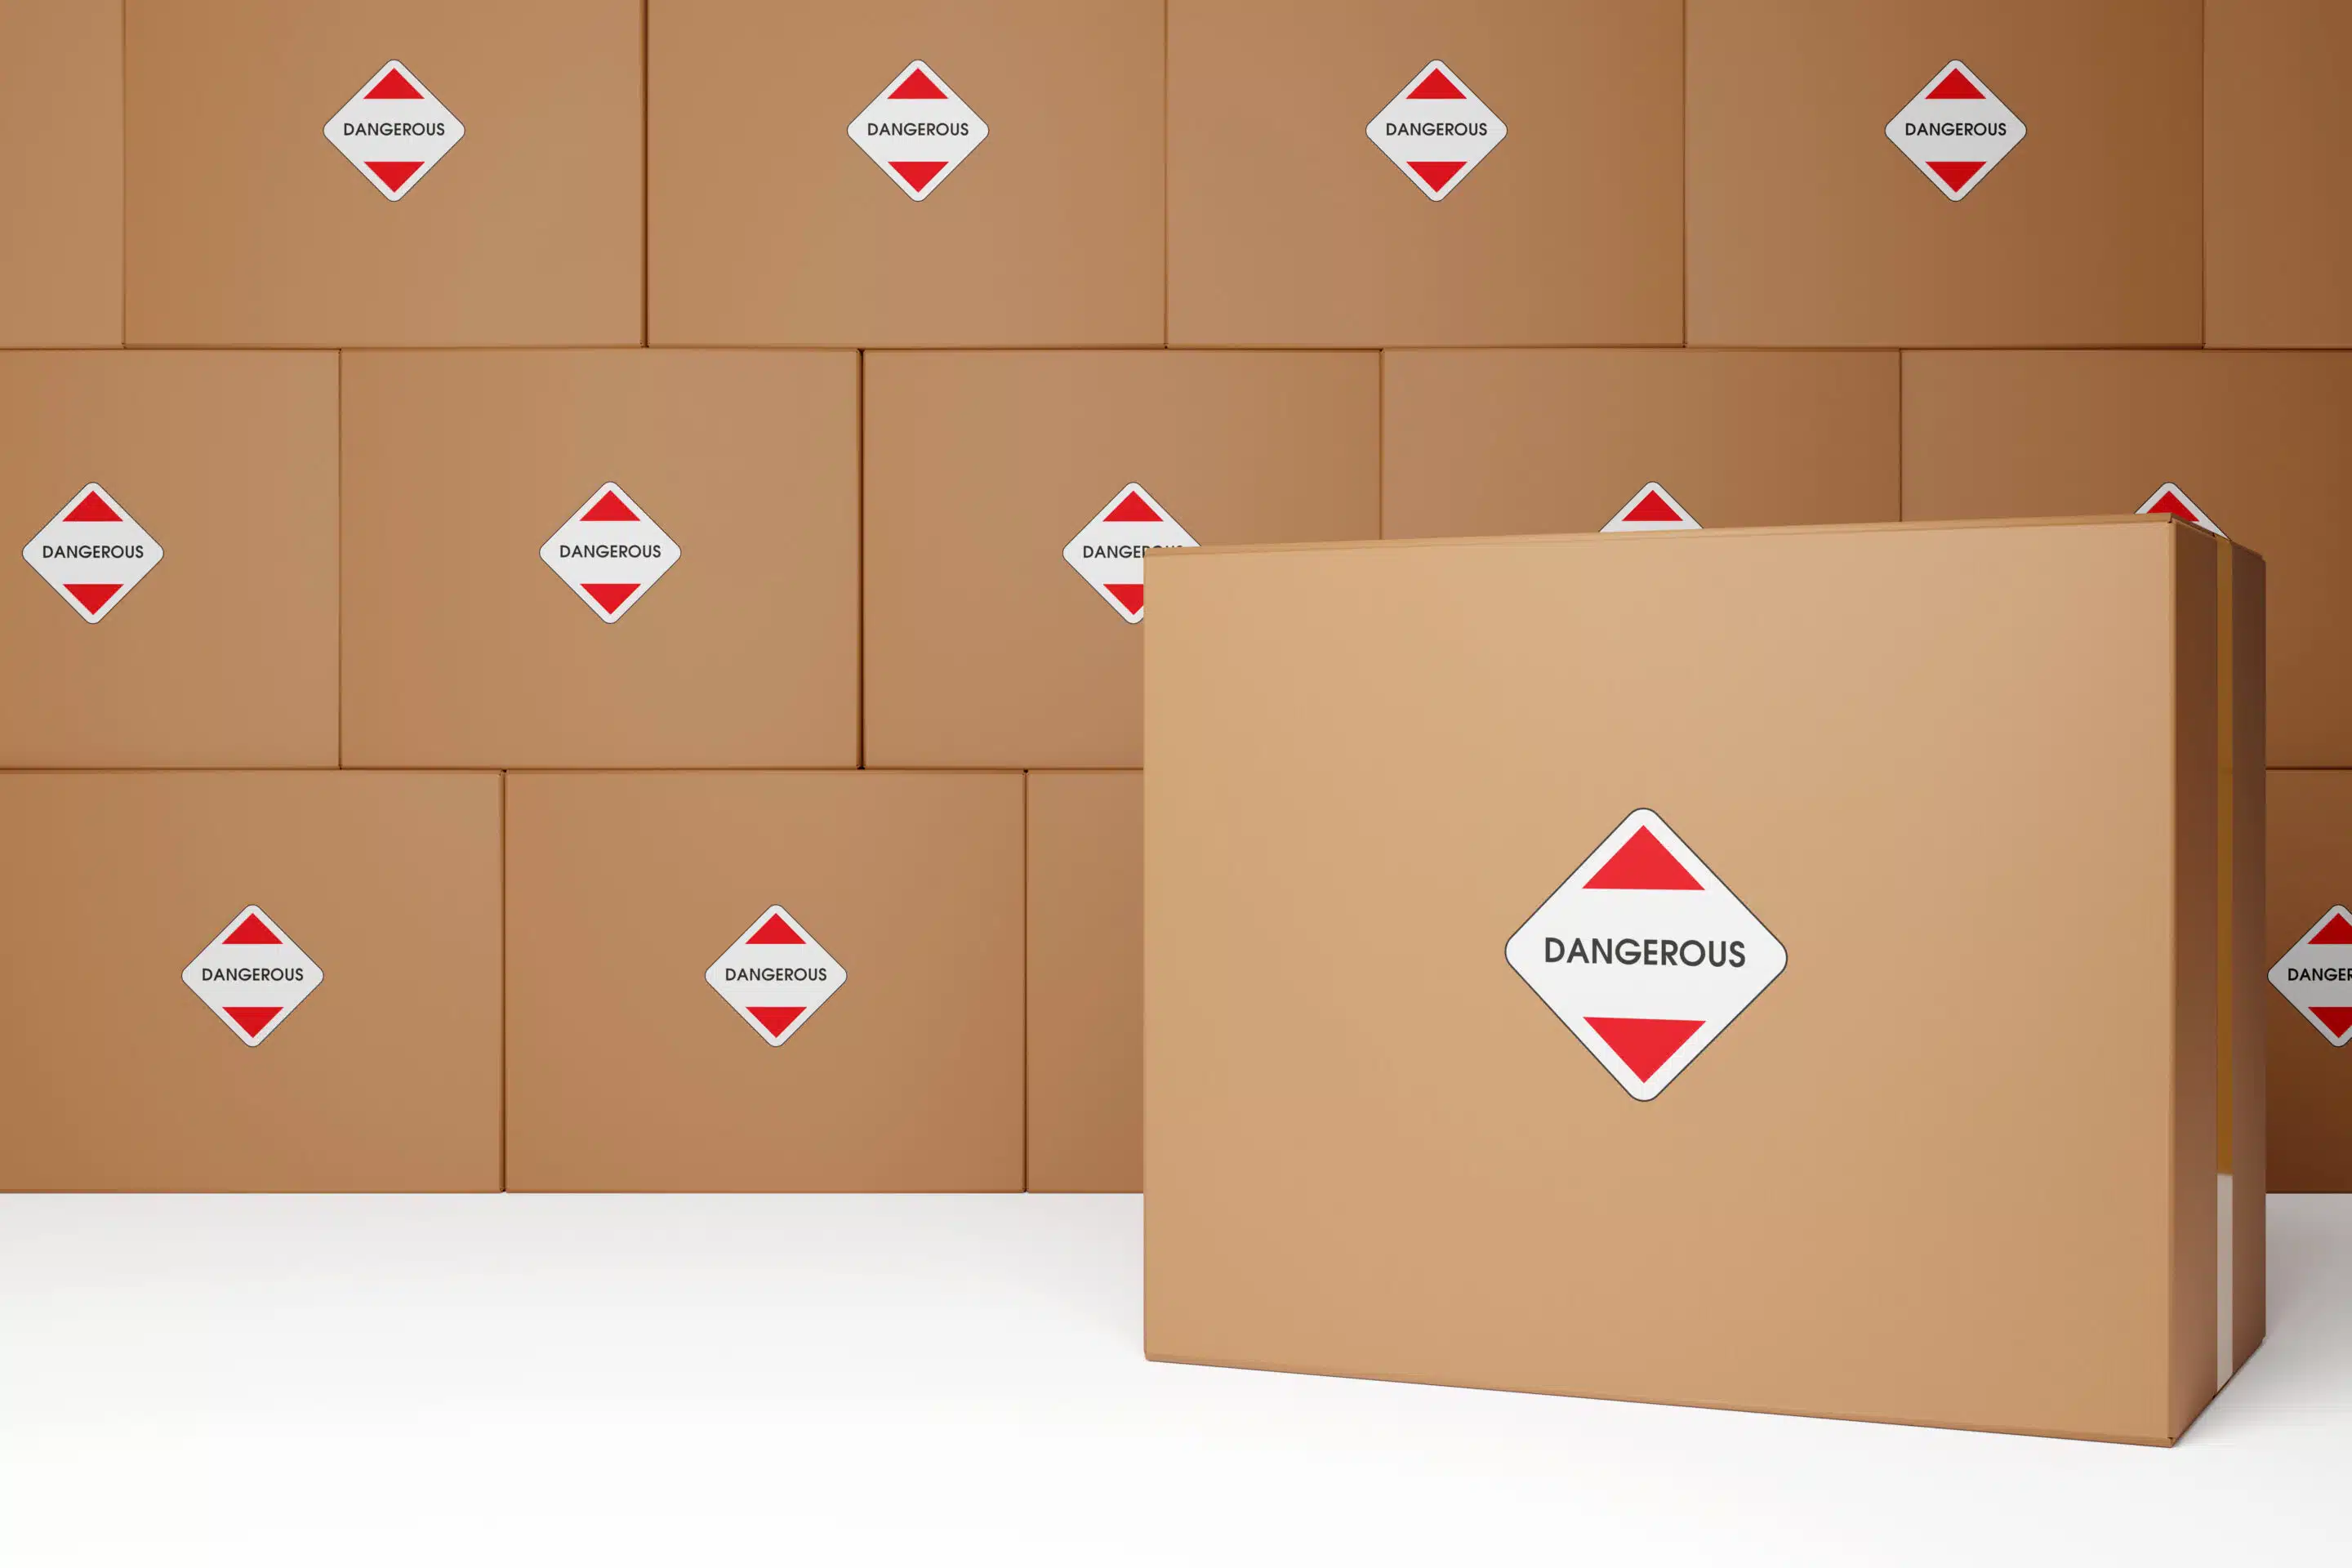
c. Confirm Dangerous Goods.
d. Enter your Customs Details – When you use Ship Thrifty, you do not need to fill out handwritten customs forms; they will print right on your shipping label based on the information you enter in the customs fields. To fill out the customs information, add a detailed description of your items followed by the HS code that will display based on what you typed in items description, select where the product was made, enter the quantity, price for each item, and weight for each item. Your package weight will be calculated based on this information so it is critical to enter the weights on the packaging of items you are putting in your box to have the correct postage.
– Be sure to check what is prohibited for the base zip code you are sending with the What’s Prohibited link. Sending items that aren’t allowed at that base may cause nonrefundable returned packages.
– If you have more entries than what will fit on the address label an additional custom continuation will be delivered which also needs to be printed and put on the box.
Step 2 – Confirm all the details
a. Add Address Details for your package. Note – Most of this would already be filled in if you used the address book feature. We recommend using your own phone number for the recipient address as well (no dashes). If you will send to the address again and are not using your address book, you can save the entry to your address book as well.
b. Click the See shipping options button to pull your rates and options.Step 3 – Pick your best option Note –
a. Select your shipping service. If you are using a USPS Flat Rate box you cannot use the Ground Advantage Option (you must use a priority mail label with a priority mail box). Plain boxes can use any label. for your label.
b. Confirm your shipping details are correct
c. Check out. If you don’t already have a payment option entered, enter it. You can “Pay with Credit Card” or use funds from your wallet if you pre-funded your account. It will take a few seconds to process and build your label.
A new screen will come up that gives you the option to print your label. Labels are 4 x 6; make sure none of the label is cut off when you print. Adjust your printer settings if your label prints larger than 4 x 6 or gets cut off (selecting to print 2 pages per sheer or multiples 2 on most printers works well). Then tape your label(s) onto your package and drop it off or schedule a pickup.
If you have any other questions, don’t hesitate to ask us by calling our phone number: 800-544-4992 or email us at contactus@shipthrifty.com.
you might also like
- Categories: Help Center
- Categories: Help Center


